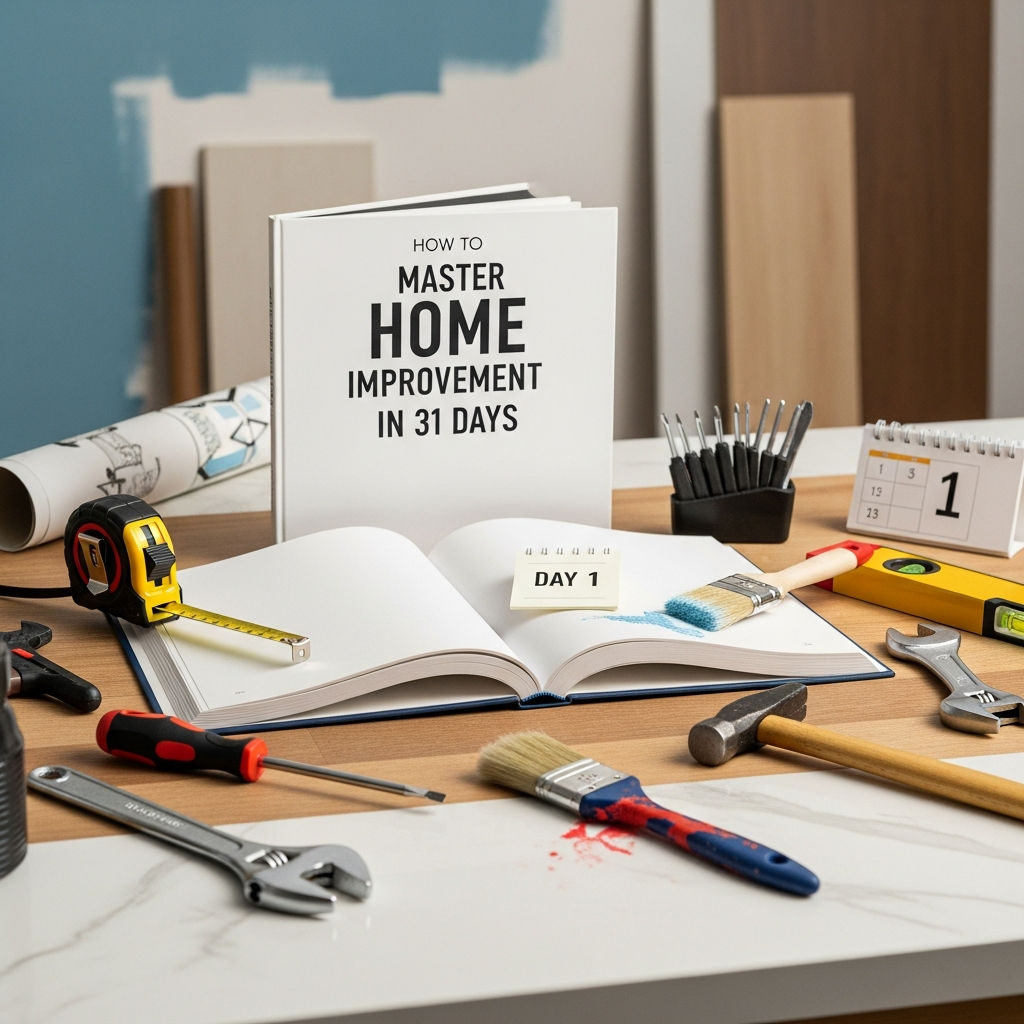
How to Master Home Improvement in 31 Days: The Ultimate Guide
Home improvement often feels like a Herculean task that requires months of planning and a bottomless bank account. However, mastering the art of the DIY home renovation doesn’t require a massive construction crew; it requires a strategy. By breaking down your goals into a manageable 31-day timeline, you can transform your living space, increase your property value, and gain the confidence to tackle any future repair.
In this guide, we will walk you through a comprehensive month-long plan designed to help you master home improvement. From foundational repairs to aesthetic upgrades, this schedule ensures every corner of your home receives the attention it deserves.
Week 1: The Foundation and Essential Repairs
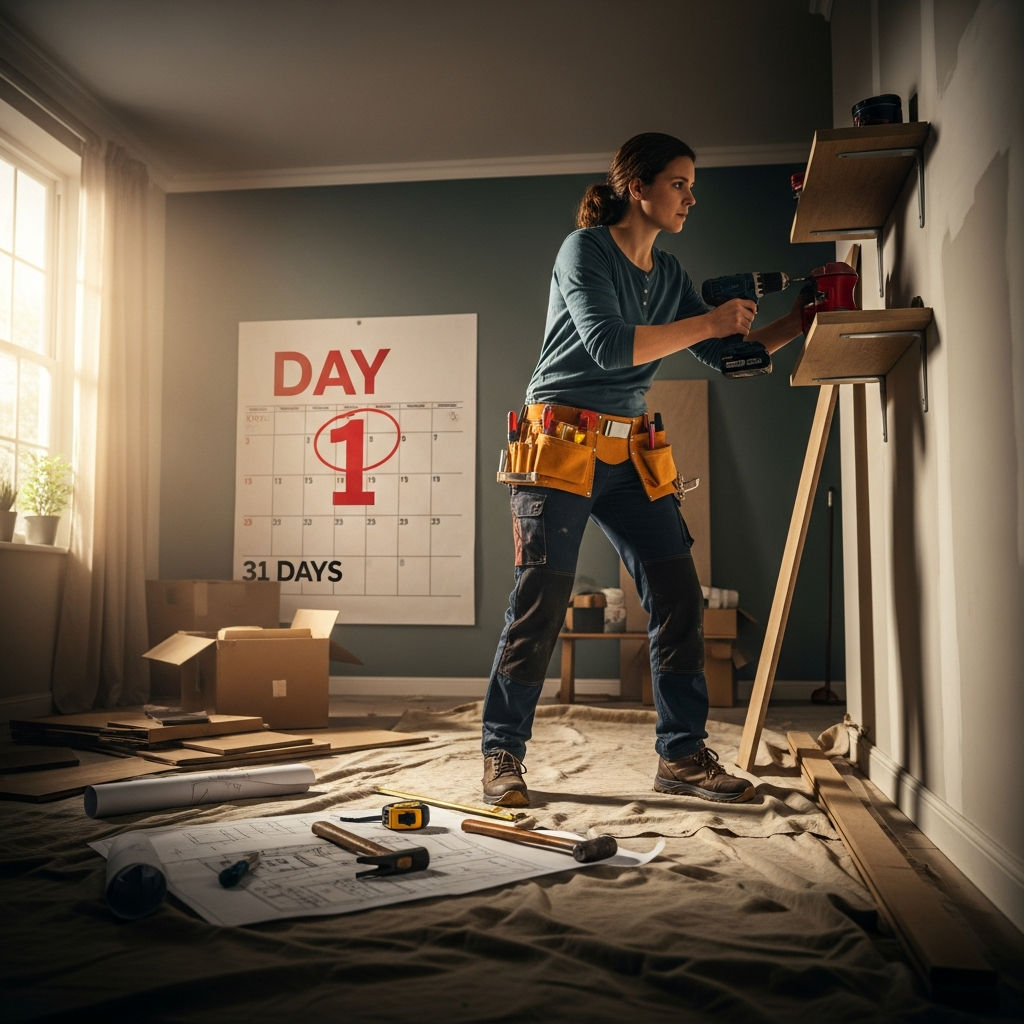
Before you dive into the “pretty” side of home improvement, you must address the functional integrity of your house. The first seven days are dedicated to the “niggles”—those minor issues you’ve been ignoring for months.
- Days 1-2: The Audit and Declutter. You cannot improve a space that is cluttered. Walk through every room with a notebook and list every squeaky door, cracked tile, or peeling paint patch. Simultaneously, remove items you no longer use. A clean slate is essential for progress.
- Days 3-4: Plumbing and Fixes. Replace worn-out washers in leaky faucets, clear slow drains using eco-friendly solutions, and inspect the seals around your toilets. These small fixes prevent long-term water damage.
- Days 5-6: Walls and Surfaces. Patch holes in the drywall left by old picture frames. Sand them down and prime them so they are ready for fresh paint in Week 2.
- Day 7: Smart Home Integration. Replace your old thermostat with a programmable or smart version. This is one of the easiest home improvement tasks that offers an immediate return on investment (ROI) through lower utility bills.
Week 2: Painting, Lighting, and Atmosphere
Now that the structural basics are addressed, Week 2 focuses on the visual impact. This is where you will see the most dramatic changes in how your home feels.
The Power of a Fresh Coat
Nothing transforms a room faster than paint. However, the secret to mastering home improvement is in the preparation. Spend Day 8 and 9 taping edges and protecting floors. On Days 10 through 12, focus on one or two key rooms. Choose neutral tones like “greige” or soft whites to make spaces feel larger and more modern. If you’re feeling bold, use Day 13 to paint an accent wall in a deep navy or forest green to add sophistication.
Upgrading Your Lighting
On Days 14 and 15, turn your attention upward. Outdated boob lights or yellowed plastic fixtures can make a home feel stagnant. Replace them with modern pendants or flush mounts. Pro Tip: Swap out old incandescent bulbs for warm-toned LEDs. This improves the color rendering of your furniture and saves energy.
Week 3: The High-Impact Zones (Kitchen and Bath)
The kitchen and bathroom are the most important rooms for home value. While a full remodel takes months, you can master significant upgrades in just seven days.
- Days 16-18: Cabinet Refresh. You don’t need new cabinets to make a kitchen look new. Clean your existing cabinet doors thoroughly and replace old, dated hardware with matte black or brushed gold pulls and hinges. This simple change is a hallmark of professional DIY home improvement.
- Days 19-20: Caulking and Grouting. Old, moldy caulk in the shower or around the kitchen sink is an eyesore. Strip the old silicone and apply a fresh, clean bead. If your floor grout is stained, use a grout pen to restore its original color.
- Days 21-23: Organization Systems. Install pull-out drawers in lower kitchen cabinets and floating shelves in the bathroom. Mastering home improvement also means mastering efficiency. A house that works well feels like a luxury home.
Week 4: Curb Appeal and Exterior Excellence
As you enter the final stretch, it’s time to take the transformation outside. Curb appeal is the first impression your home makes, and it significantly impacts your home’s market value.
The Entryway Makeover
On Days 24 and 25, focus on your front door. Sand it down and paint it a welcoming color like classic black, slate blue, or even a cheery red. Replace the house numbers with modern, high-contrast digits and install a new mailbox. These small touches signal that the home is well-cared for.
Landscaping and Maintenance
Days 26 through 28 should be spent in the yard. Prune overgrown bushes, edge the lawn, and add a fresh layer of dark mulch to your flower beds. Mulch is the “paint” of the garden—it instantly makes everything look professional and tidy.
On Days 29 and 30, rent or buy a pressure washer. Clean the driveway, the siding, and the windows. Removing years of grit and pollen will make your home literally shine. Be careful with the pressure settings to avoid damaging wood or soft stone.
Day 31: The Final Review and Future Planning
On the final day of your 31-day challenge, do a final walkthrough. Take “after” photos to compare with the “before” photos you took on Day 1. This is not just for satisfaction; it’s excellent documentation if you ever decide to sell your home.
Use this day to create a “Home Maintenance Manual.” Note the brands and colors of the paint you used, the dates of your repairs, and a schedule for seasonal tasks like cleaning gutters or changing air filters. Mastering home improvement isn’t just about a one-time sprint; it’s about establishing a lifestyle of care and maintenance.
Essential Tools for Your 31-Day Mastery
To succeed in this challenge, you need a basic toolkit. Before you begin Day 1, ensure you have the following:
- A high-quality cordless drill and driver set.
- A multi-bit screwdriver and a set of Allen wrenches.
- A level and a 25-foot tape measure.
- A 5-in-1 painter’s tool and high-quality brushes.
- Safety gear: Goggles, N95 masks, and work gloves.
Conclusion: The Long-Term Value of DIY
By the end of these 31 days, you will have done more for your home than most homeowners do in three years. You have addressed the safety and functionality of your plumbing and electrical systems, enhanced the aesthetic appeal with paint and lighting, maximized the utility of your kitchen and bath, and boosted your curb appeal.
Mastering home improvement is a journey of empowerment. With every screw you tighten and every wall you paint, you increase your “house IQ.” Not only does this save you thousands of dollars in contractor fees, but it also turns your house into a personalized sanctuary that reflects your hard work and style. Start your Day 1 tomorrow—your dream home is only 31 days away.